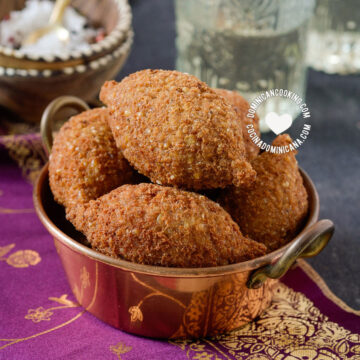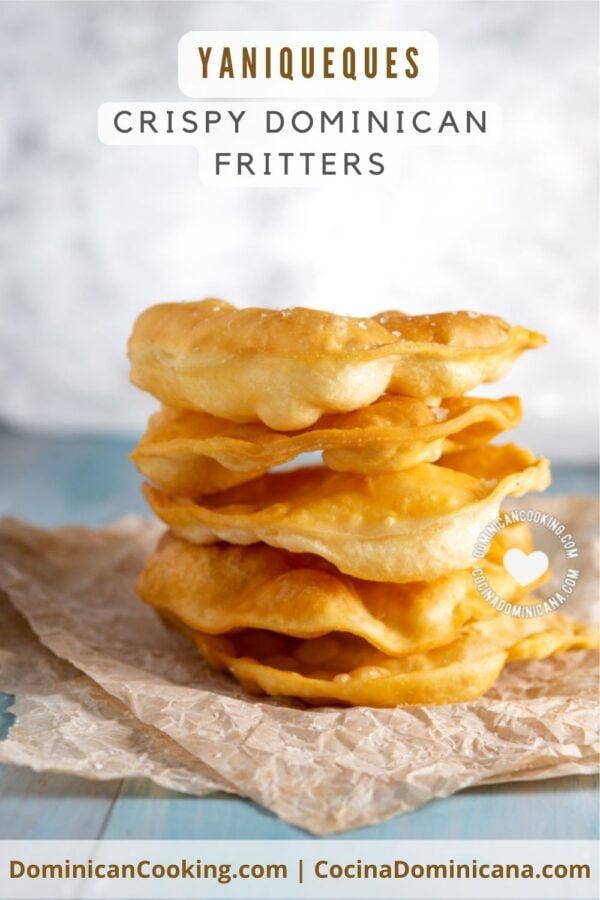
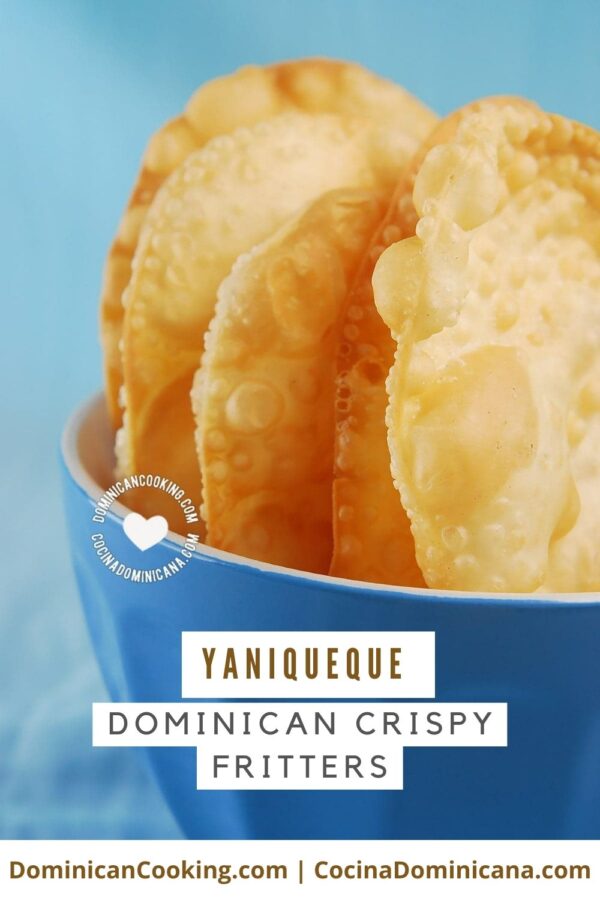
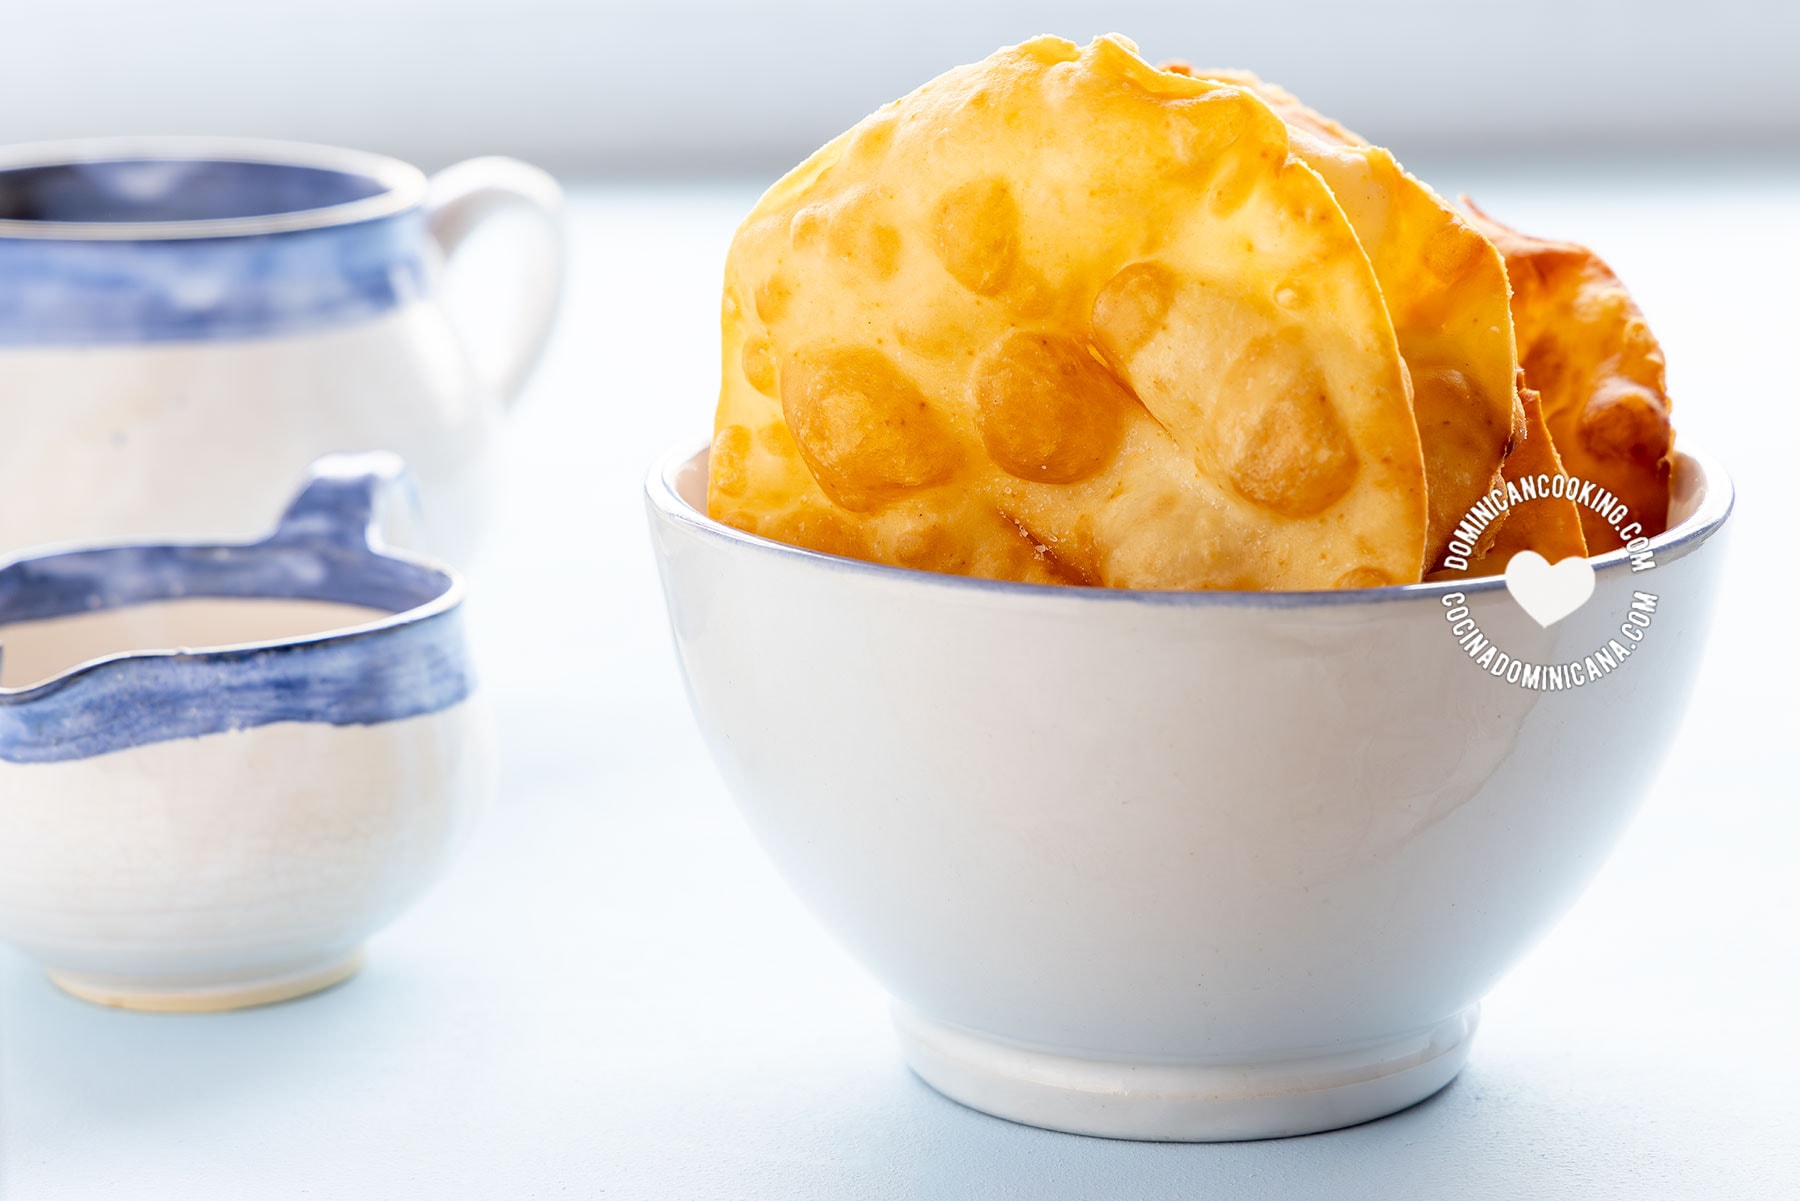
These delicious, crunchy, flaky, deep-fried Dominican Yaniqueques are a must-have on a visit to Boca Chica, the popular Dominican beach or enjoyed as a breakfast dish alongside our traditional hot drink. You'll love just how easy and inexpensive it is to make it at home.
By - Reviewed: . Original: Dec 20, 2001
Why we ❤️ it
Simple, easy to make, with a few humble ingredients, Yaniqueques can be served as a breakfast dish, or an afternoon snack.
Take aside a few minutes and enjoy this lovely Dominican treat.
What's yaniqueque?
What is Yaniqueque, and where did it come from?
You know what? there seems to be a lot of theories and quite the disagreement. The most widely accepted theory is that it came from the British West Indies with Cocolo immigrants and that its name is a corruption of the name Johnny Cakes, a dish with which it shares very little in common.
To further complicate things, this dish is known as "hojuela" in Samana, the North, and Northwest.
Yaniqueque from Samana is something entirely different, and I won't touch upon that one here.
Learn more
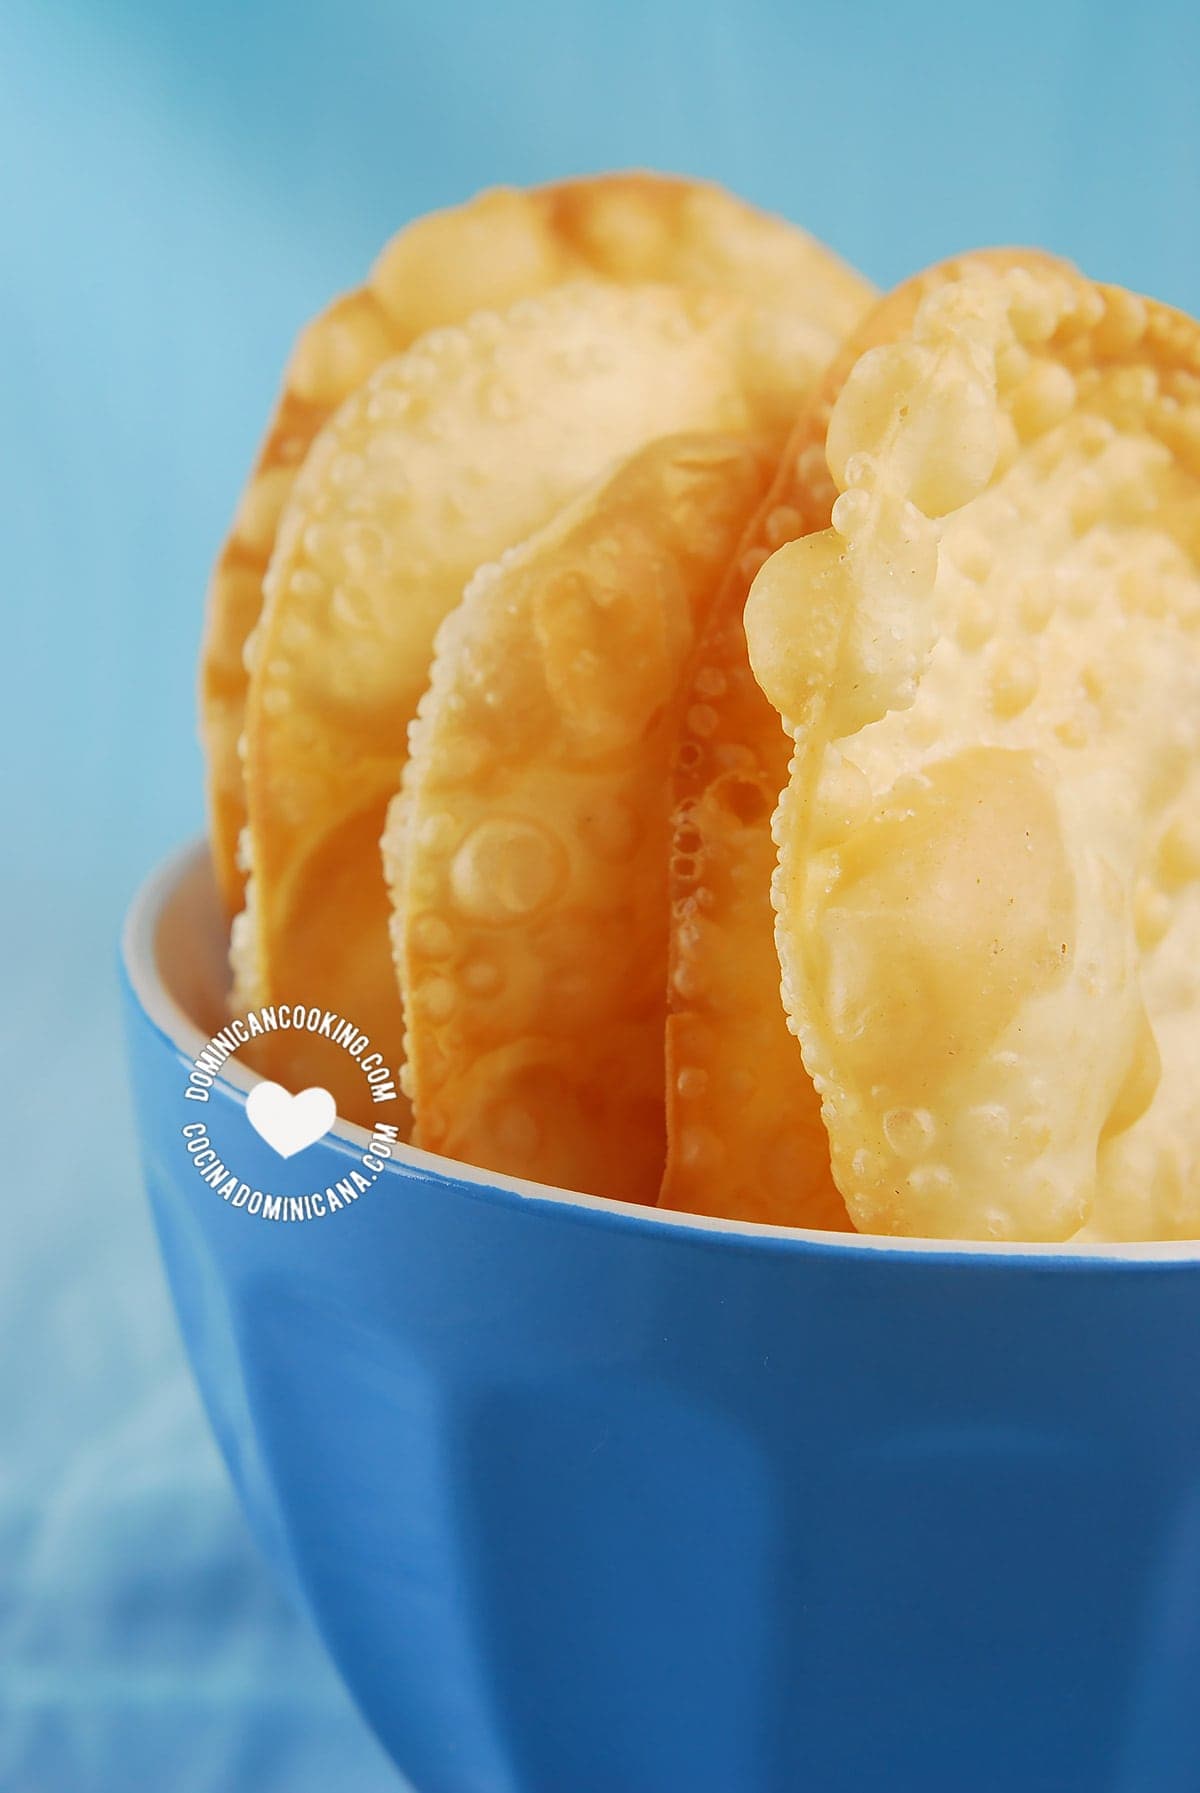
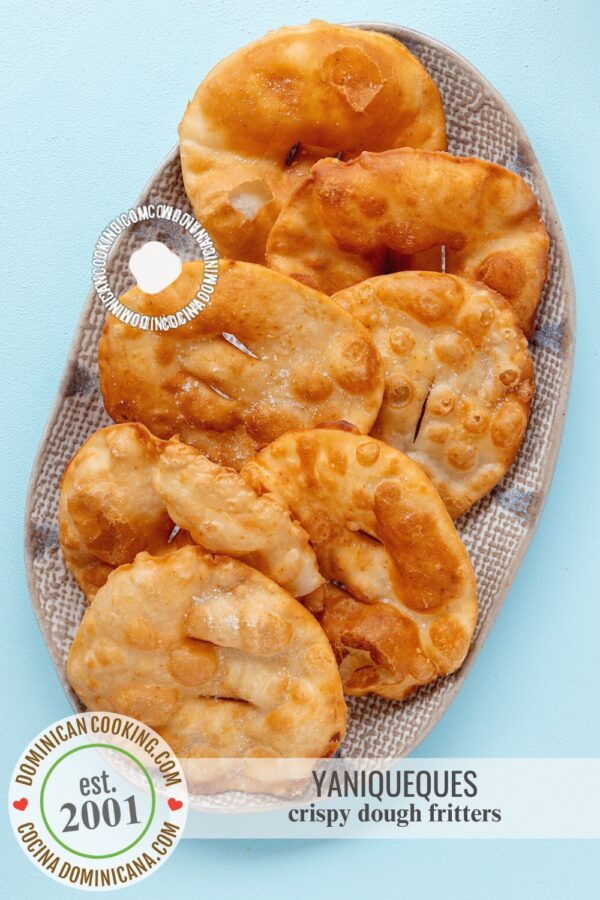
Yaniqueques.
Serving suggestions
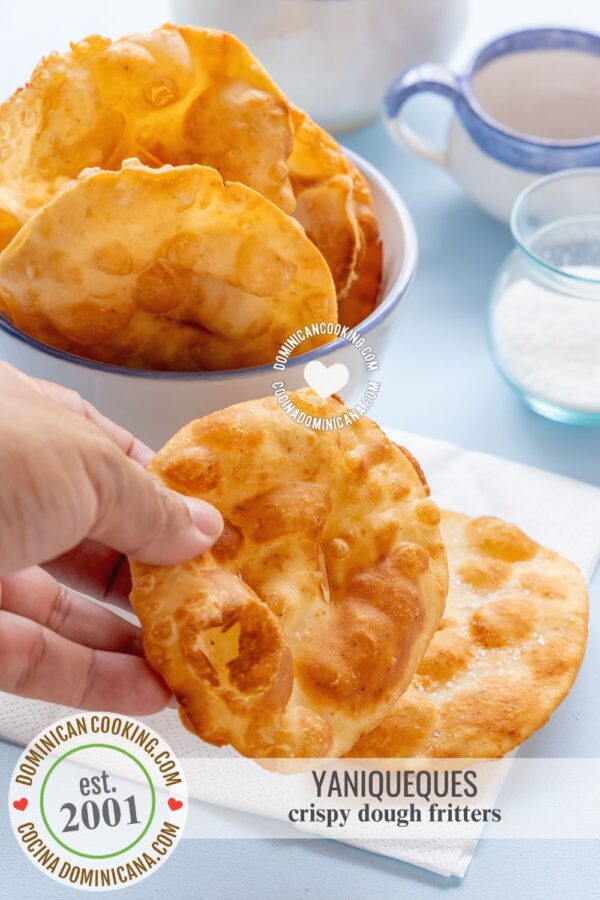
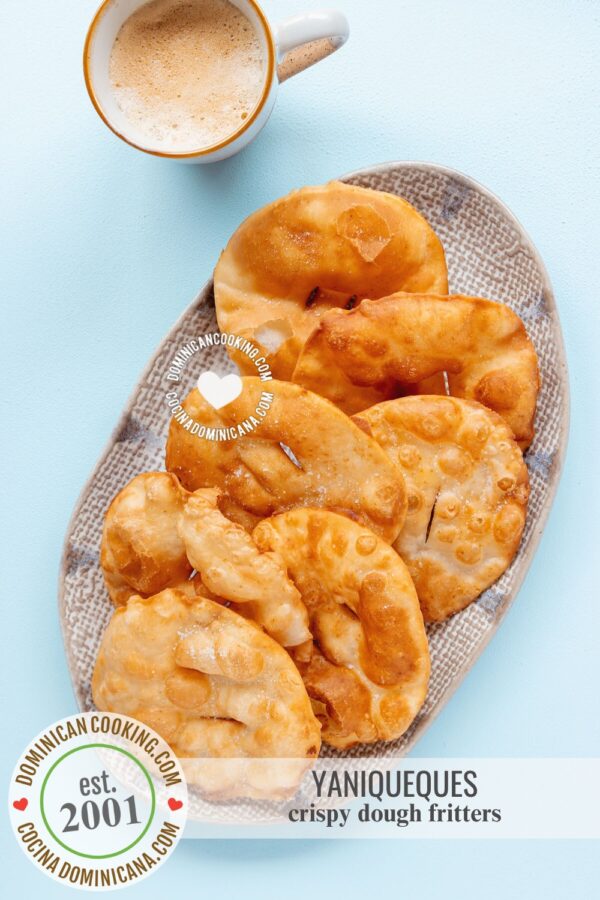
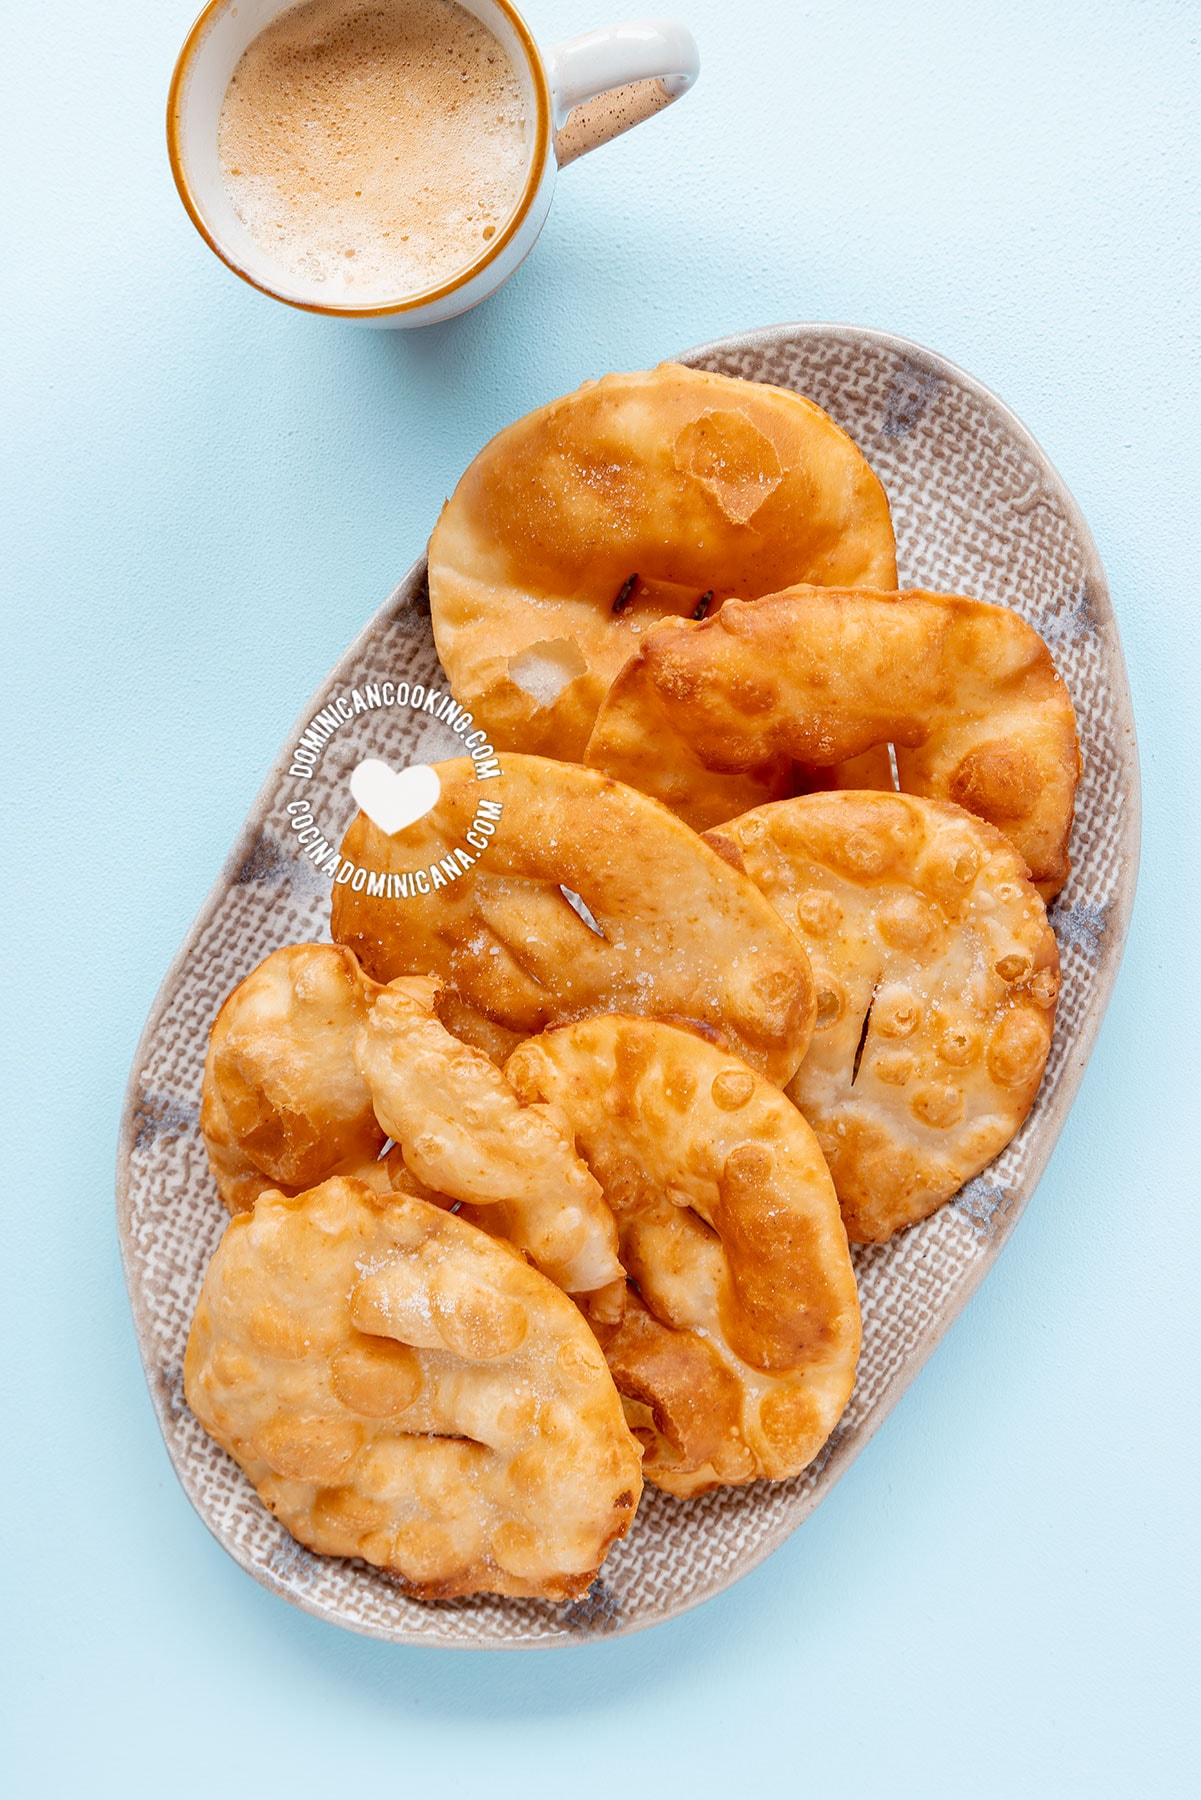
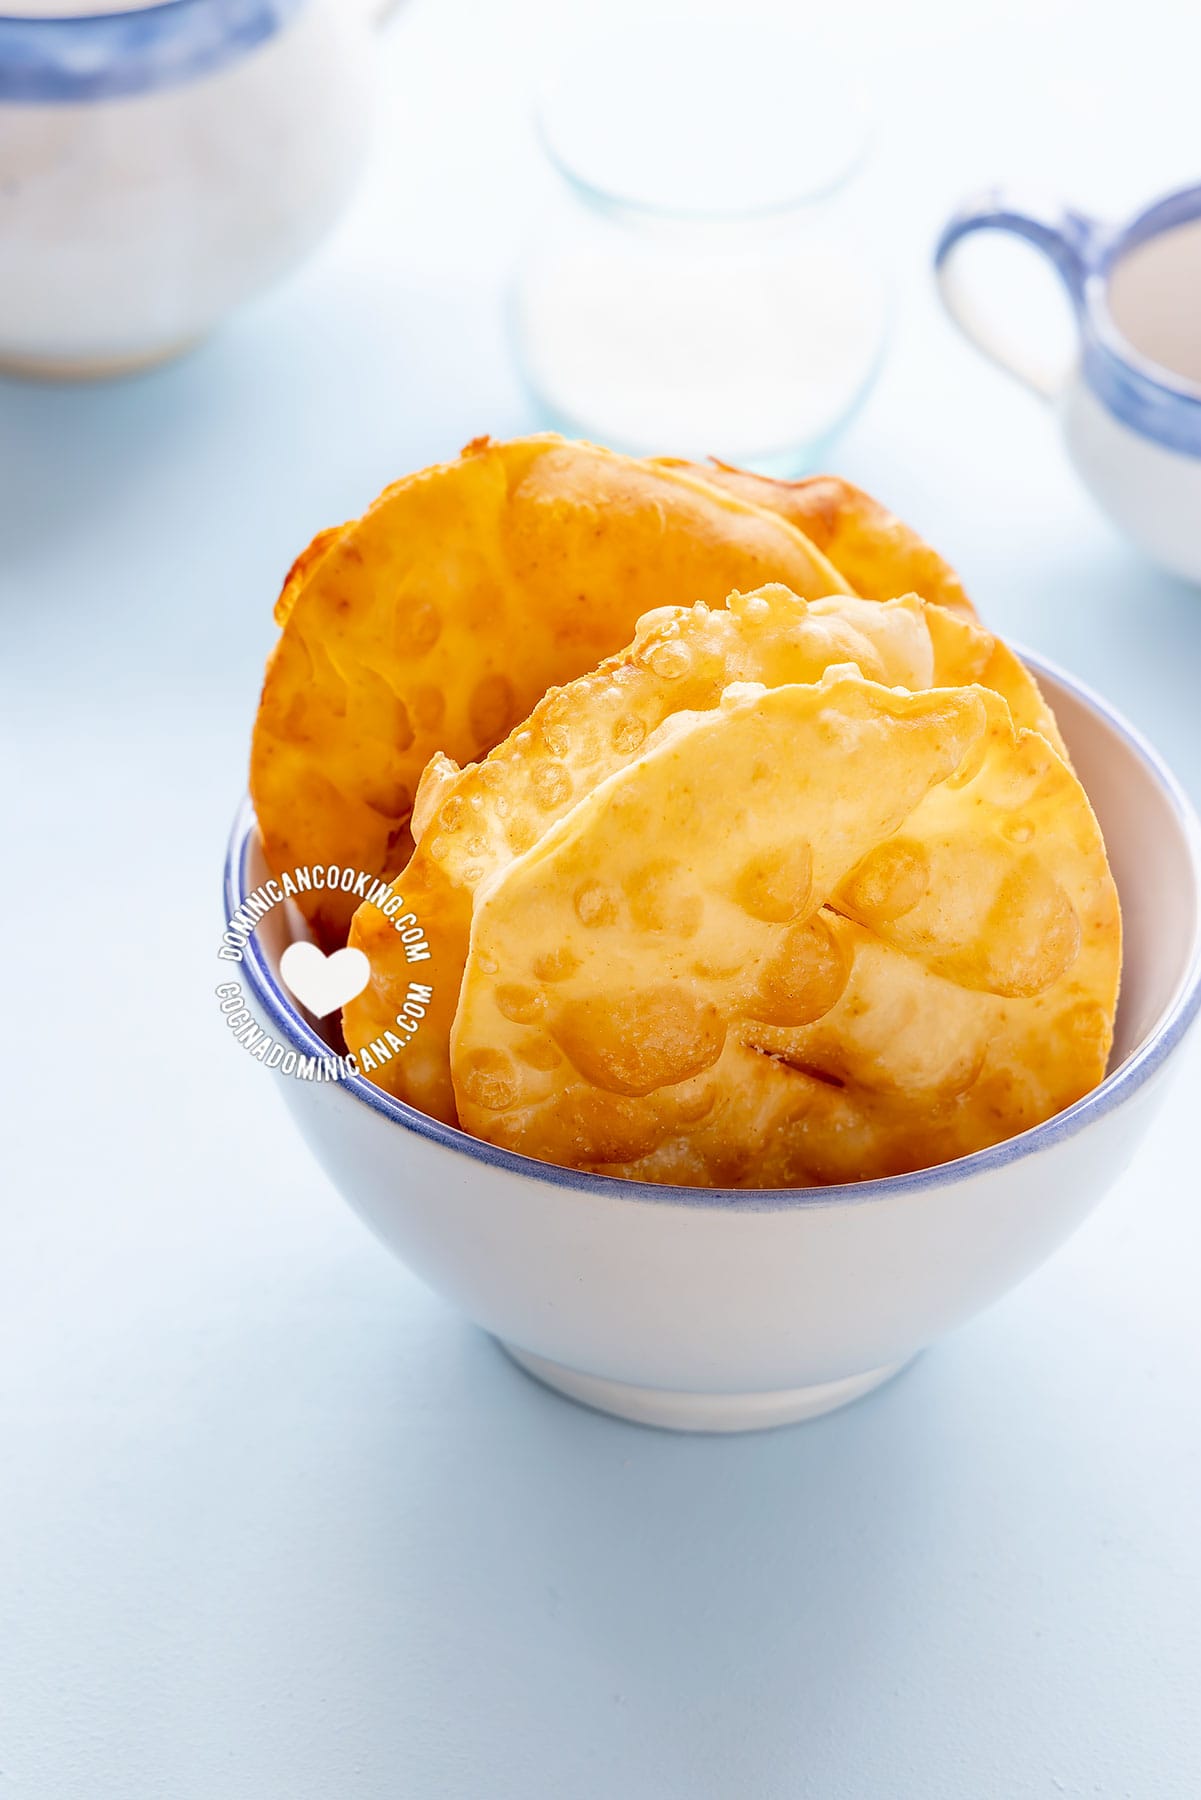
For some, Yaniqueque is a breakfast dish, typically served with Chocolate de agua, Ponche de desayuno, or Chocolate con leche (all hot drinks). For other people, Yaniqueque is served as afternoon snack.
And for anyone that has spent time in Boca Chica (a beach in the south of the country), it is the perfect day-beach snack, great with a "fría" (cold beer).
Top tips
- Size: Yaniqueques come in a bigger size called LPs (like vinyl records) and the little ones served for breakfast.
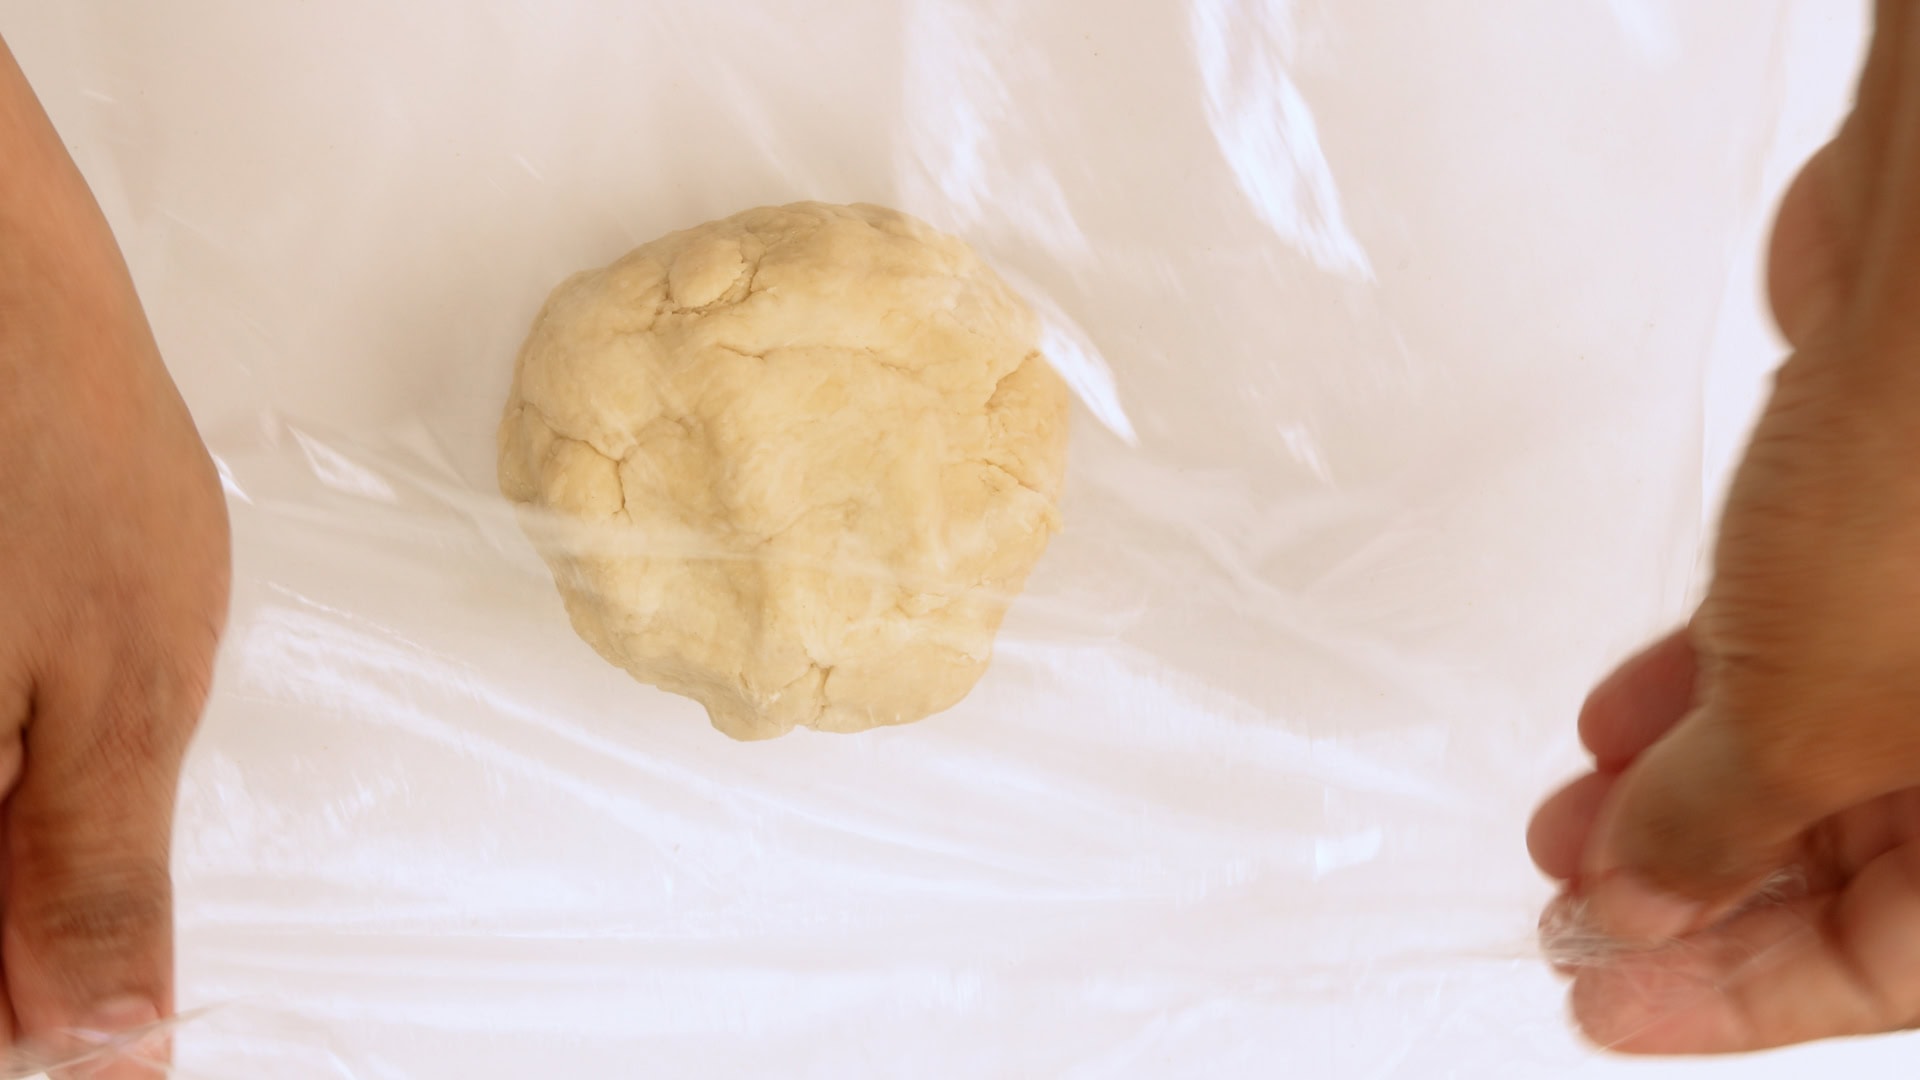
Make yours in whichever size you like. I offer both choices in the recipe. The recipe yields 16 small ones or 4 large ones. - Kneading: It's important that you do not overknead the dough, the result will be doughy Yaniqueque which, while some people's preference, it isn't what most prefer. I basically just press the dough together until it forms a cohesive ball.
- Water: It's not possible to know how much water you'll need down to the milliliter. Different brands of flour and climate conditions will affect it. We start the recipe with an amount of what that I know will not be sufficient, and suggest you keep adding very small amounts until the dough just comes together. Too much water will not allow the fried Yaniqueques to have the flaky, crispy texture we love.
- Salt: The salt added originally to the dough seems too little, but I like Yaniqueque sprinkled with salt at the end, so that's what the recipe suggests.
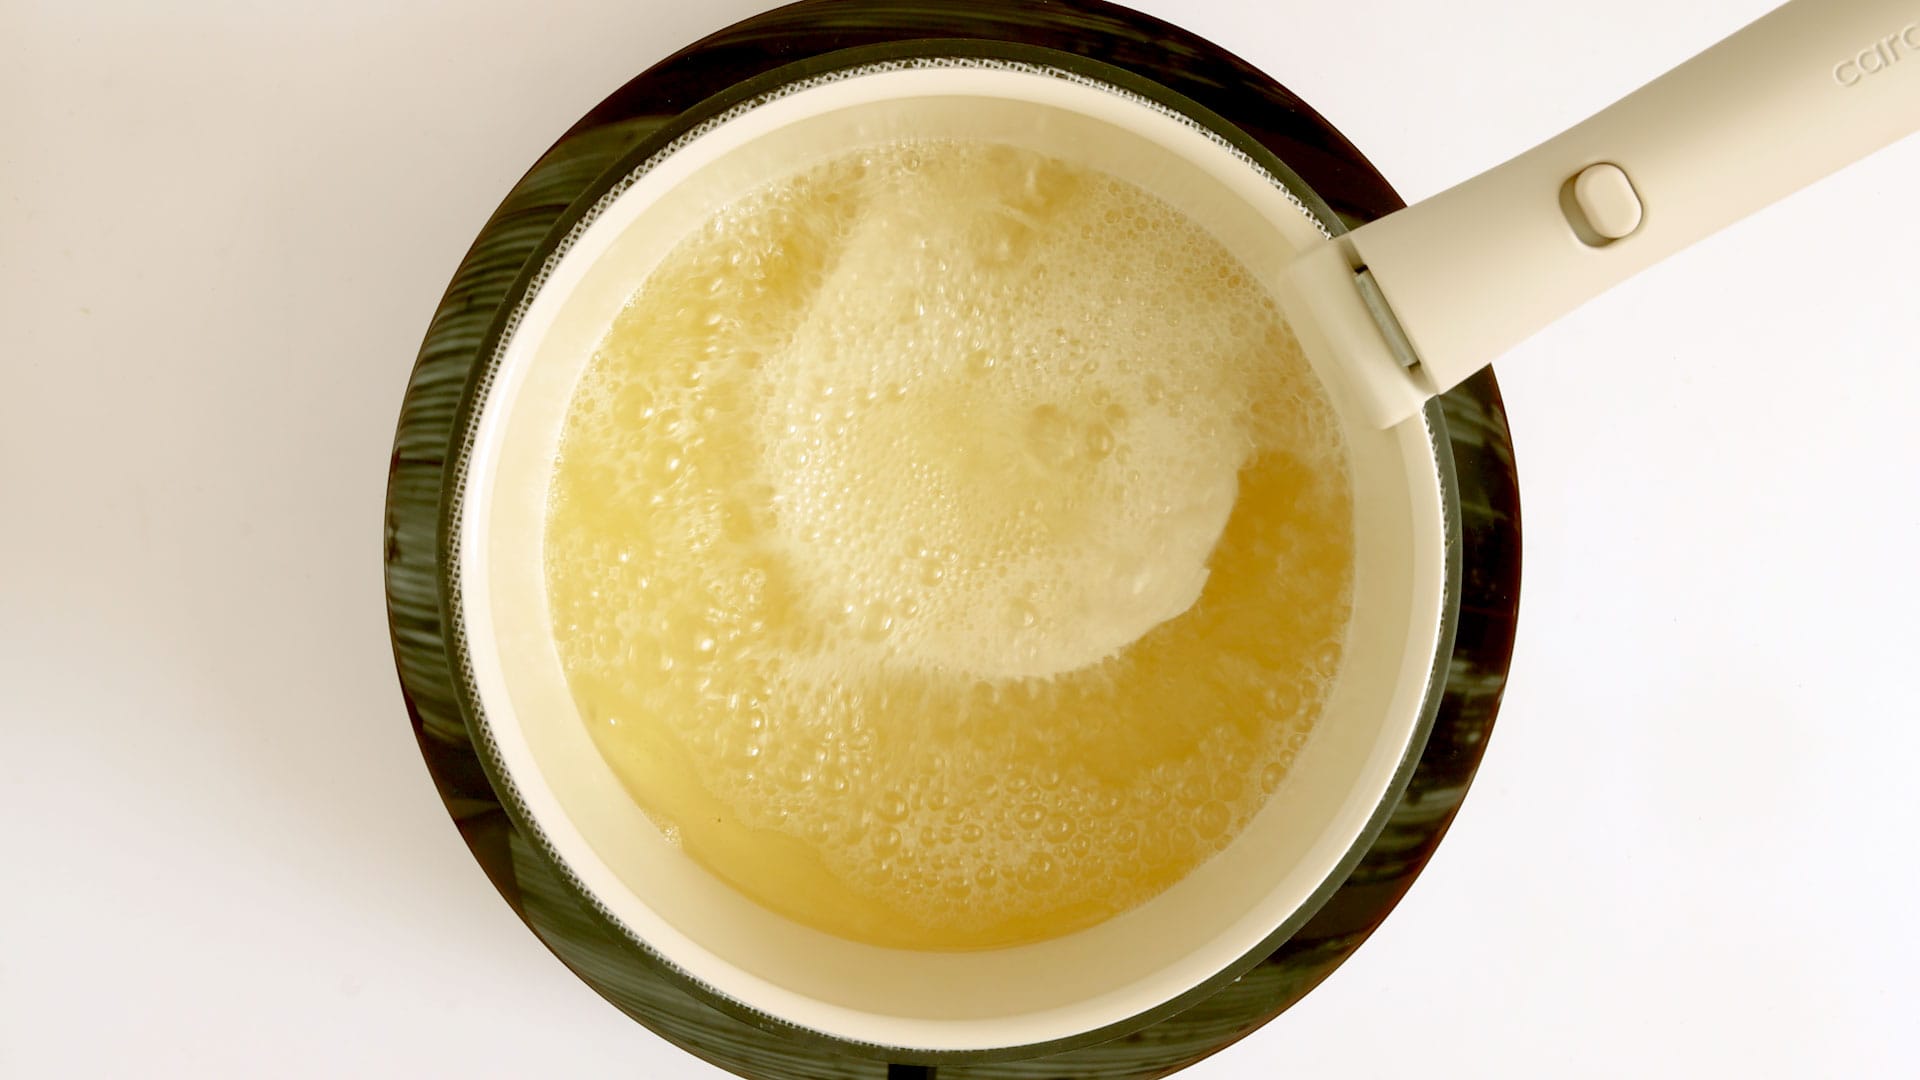
- Temperature: As always, an oil thermometer is preferable, but if you don't have one, the recipe suggests you test the oil temperature by lowering a small piece of dough and see if it the oil starts to make bubbles right away. If not, wait a couple more minutes. Do not fry the Yaniqueques in cold oil.
- Frying pan: I use a small pot or sauce pan so that I don't have to use as much oil, that means that you'll have to fry them one by one so the oil temperature does not drop too much. If you make LP-sized ones, you'll need a much larger frying pan, and possibly more oil.
- Oil for frying: You need to use a neutral oil with a high smoking point. In the Dominican Rep. we typically use corn or peanut oil, but you can use whichever you usually do.
About our recipe
It wasn't until I moved to Santo Domingo in my early teens that I discovered that what I had always known as "hojuelas" in my native Montecristi - and sold on my street every afternoon by a little old lady we only knew as "Hojuelita" - were known in most of the country as Yaniqueque.
There may be differences between regions, and even between homes, but they won't be too far from each other.
If you have a different Yaniqueque recipe, I'd love to hear about it in the comments.

Video
Recipe
This awesome free recipe contains Amazon affiliate links, we receive a small commission from any purchase you make at no extra cost to you. Thanks for your support!

Yaniqueque [Video+Recipe] Crispy Dominican Johnny Cake
Ingredients
- 2 cup all-purpose flour
- ½ teaspoon baking powder
- 1 teaspoon salt
- 3 tablespoons vegetable oil, for the dough, can be the same type as below
- 2 cups oil for frying
- ½ teaspoon coarse sea salt, for sprinkling
Instructions
1. Mix dry ingredients
 Mix the flour, baking powder, and salt.
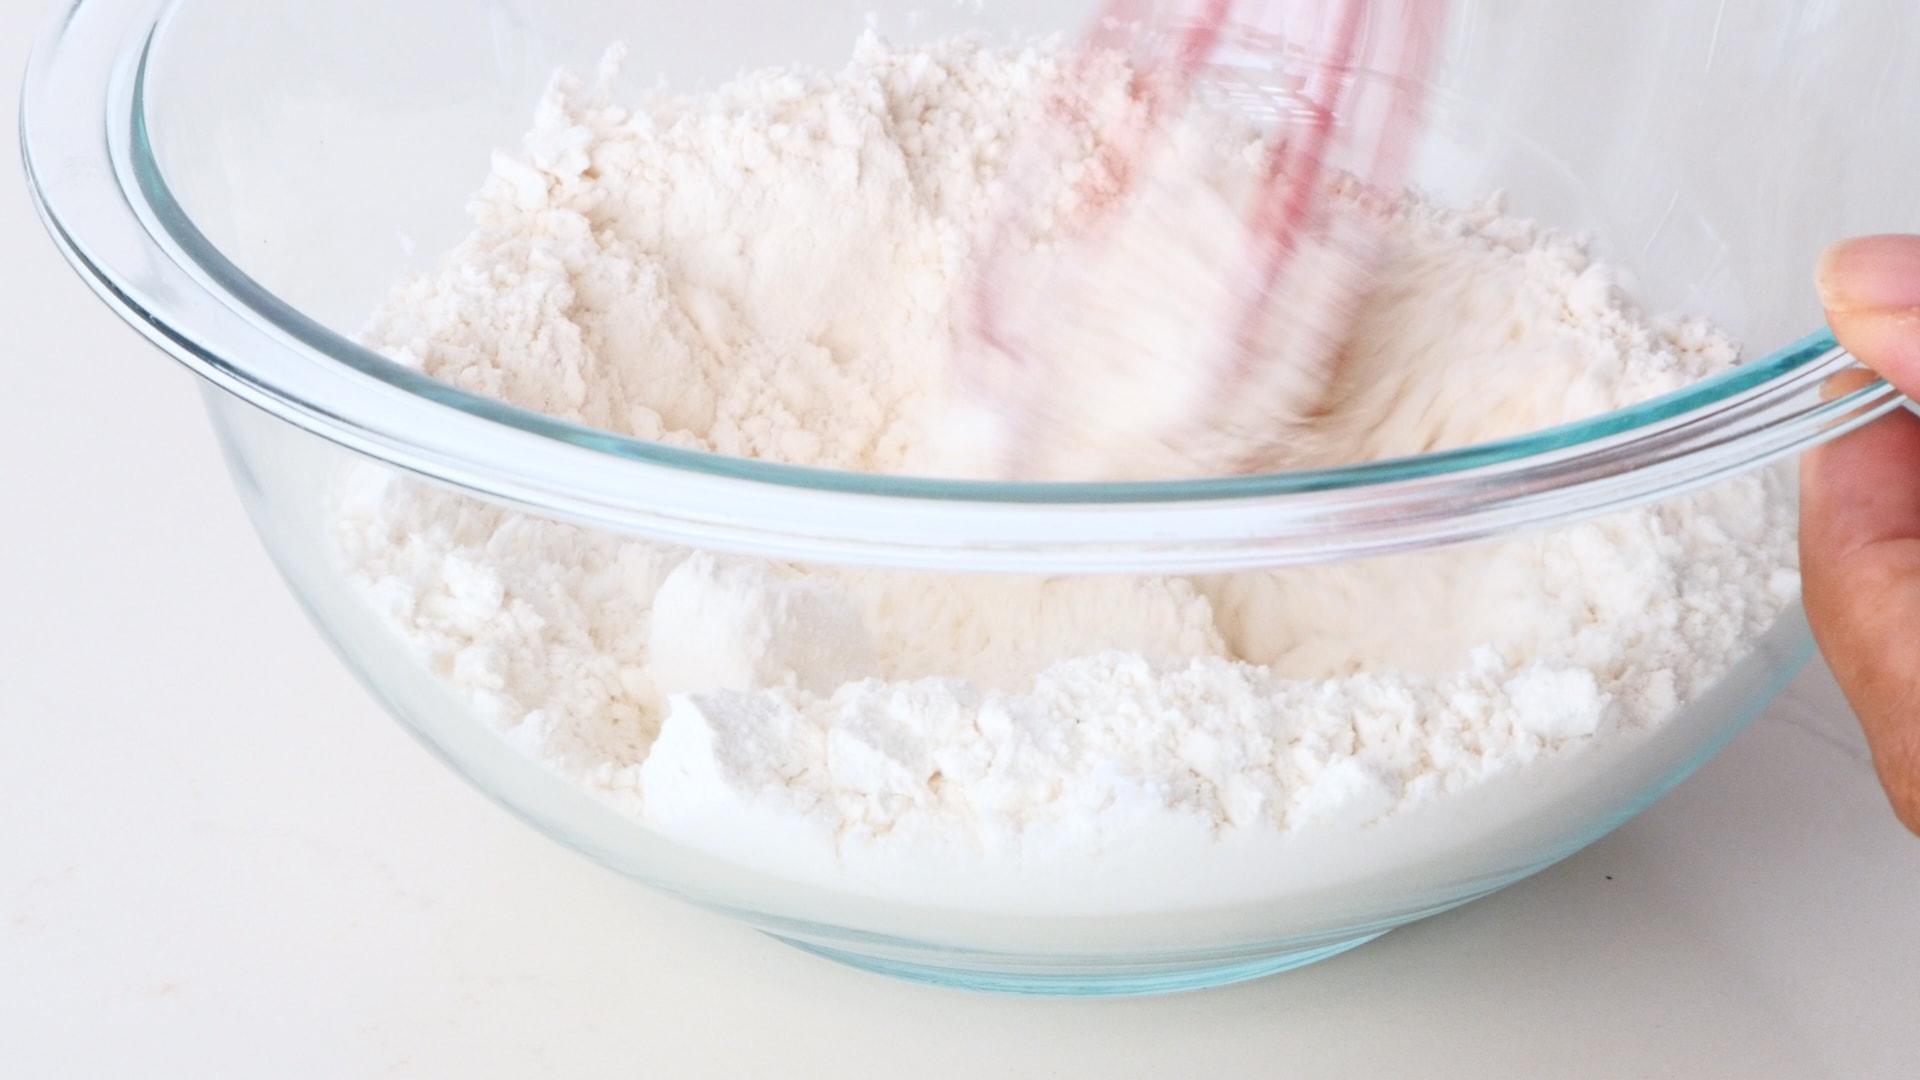
2. Make the dough
- Mix flour with ¼ cup of water, and the 3 tablespoons of oil for the dough and mix with a spatula. Press the mixture with your hands trying to make it come together. Add the minimum necessary extra water to make it stick to itself (I needed 2 ½ extra tablespoons, but it may be different for yours). Knead the dough just the absolutely necessary to form a ball.Let dough rest for 10 min covered in plastic film.
3. Roll out the dough
- Divide the dough into 4 equal portions for yaniqueque about 10 inches [25 centimeters] in diameter, or 16 equal portions for yaniqueque about 4 inches [5 centimeters] in diameter.Form a ball with each portion of dough, and extend each with a rolling pin until it is very thin, nearly translucent. The thinner it is, the crispier it will be. If the dough is sticking, lightly grease the working surface, or roll between two pieces of parchment paper. ⚠️ For better looking yaniqueques, you may cut them into perfect circles using an empanada cutter, or a cup and knife, but this is optional. If they are a bit misshapen, don't worry, that's how they look when you buy from street vendors.Cut a couple of small slits into the dough circles about 1-inch [2.5 centimeters] using a knife.

4. Frying the yaniqueques
- Heat oil over medium-high heat (350 ºF [175 ºF]). Fry them one at time, turning them halfway until they turn golden brown on both sides.While you fry them all, let the ready ones rest on a paper towel to absorb excess oil.
5. Serving
 Sprinkle with sea salt to taste and serve freshly-fried.
Cook's Notes
Nutrition
Nutritional information is calculated automatically based on ingredients listed. Please consult your doctor if you need precise nutrition information.
Want to save this recipe?
Enter your email & I'll send it to your inbox. ❤️ Plus, get great weekly recipes from me!
- Learn more about me and the humans behind this blog.
- Share your questions and comments about this post.
- Subscribe to receive our recipes and articles by email.
- Please stay in touch! Follow us on: